 |
|||||||||||||||||||||||
Ceramic Tile Tools
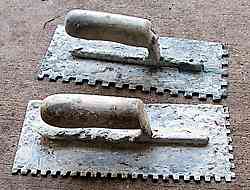
Mixing toolsThe tile adhesive has to be well mixed, to the correct consistency. You can of course mix it by hand with a paddle like stick. For larger mixes, more often, it is common to use a large slow revving electric drill with a mixer, for mixing the tile adhesives. Slow revving with plenty of torque. The stuff gets hard to spin around at the right consistency. This one happens to have a right angle attachment, but normally they are standard drills, usually "D" handled. For mixing in general, always follow the instructions on the product. In most case I've seen they recommend that you mix it, leave it for a period for the water to be fully absorbed into the product, and then use it. Grinder and hand toolsYou will need a few trowels, I like a brickies trowel with the point cut off for cleaning the pail out etc. Then of course the all important notched trowels for spreading the adhesive to a consistent thickness. The depth and size of the notch determines just how much adhesive is used. We may have smaller notches for wall tiles, than floor tiles.
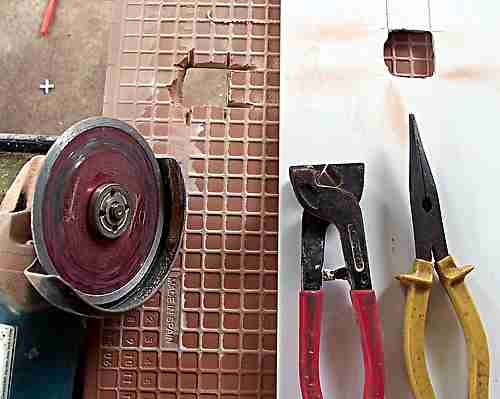
Above on the left is a 100mm grinder with a smooth diamond blade. A pair of tiler's nips, which are used for breaking off and trimming small pieces. In this shot I have prepared a couple of tiles for fitting around bathroom taps. I mark the tile, front and back with a water base marking pen (easy clean off) and cut from the the back with the grinder, tapping out the center and trimming off with the snips. In this case the holes were a touch too small for the proper snips, so I used needle nosed pliers to trim for a fit. A quick note about fitting around tap/faucet fittings. You must allow enough clearance for the plumber's box spanner, for changing tap washers etc. Ceramic Tile Cutters
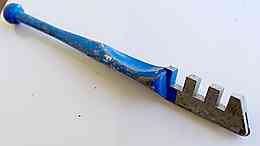
At the most basic, the simplest way to cut a ceramic tile is by scoring the glazed face of a tile with a glass cutter. Using a straight edge or a square held firmly on the tile, a straight scratch mark or score is made on the surface. A small piece of material is placed under the score, and hand pressure is applied the either side of the tile. If the score was done correctly then the tile will snap along the score mark. A tip when using glass cutters, for glass or ceramic, have a small container of kerosene or other such light oil, and dip the tip of cutter into it every few cuts. This seems to make for better cuts. Either by just cleaning it of lubrication, I don't really know, but it works.
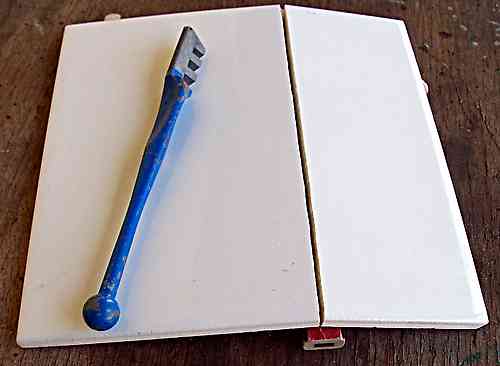
In the image above I placed a carpenter's pencil under the the tile. It is quite possible to do small tiling jobs with no other tool for cutting the tiles. Typical splash back jobs only have a few cuts.
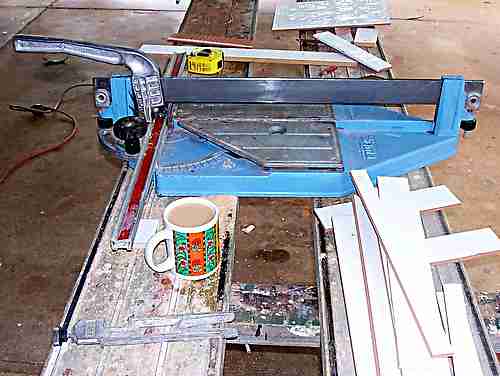
Above is a shot of a Sigma tile cutter. This cuts the tiles the same way as the glass cutter but with a lot more certainty, ease and speed. The principal is the same though, score the tile at the correct position, and then apply force to either side of the cut and snap the tile.
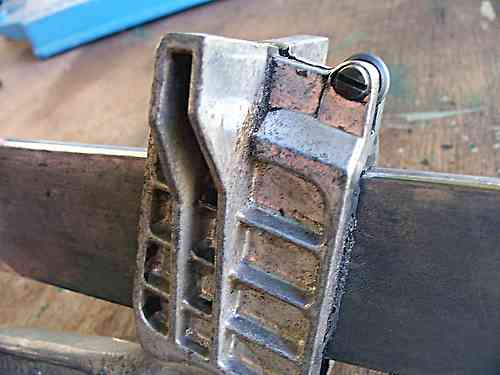
Here is a shot of the working end of the handle, (Upside down here,I took the bar off the machine for the photo) and you can see the hardened cutting disk that scribes the cut when the handle is raised, and the vee shaped arms that apply pressure to each side of the cut when the handle is depressed, for snapping the tile.
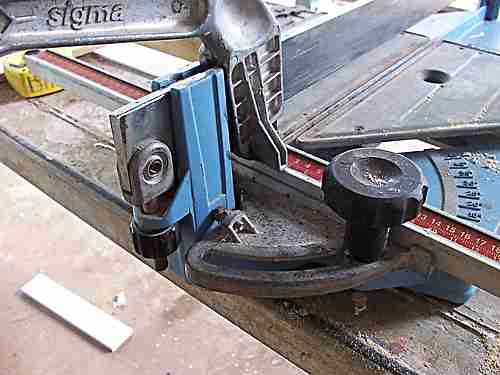
Here's another detail. The advantages of this type of cutter are fairly obvious, here are a few points.
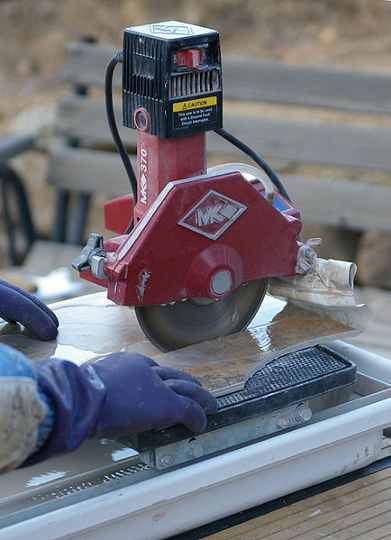
Bench mounted wet saw, diamond saw
But at the end of the day the job has to be done and if score cutters can't handle the job then a wet saw is the only option left. Not found it yet? Try this FAST SITE SEARCH or the whole web |
Hire Equipment  Furniture Fittings - Architectural Hardware - Electronic Locking Systems - Technical Hardware BuilderBill sponsorship |
||||||||||||||||||||||
|
|
|||||||||||||||||||||||
|
Please Note! The information on this site is offered as a guide only! When we are talking about areas where building regulations or safety regulations could exist,the information here could be wrong for your area. It could be out of date! Regulations breed faster than rabbits! You must check your own local conditions. Copyright © Bill Bradley 2007-2012. All rights reserved. |
|||||||||||||||||||||||

