 |
|||||||||
A Bathroom RenovationAre you in need of a bathroom renovation? We were and here are some of the ways that I went about sprucing the old place up.
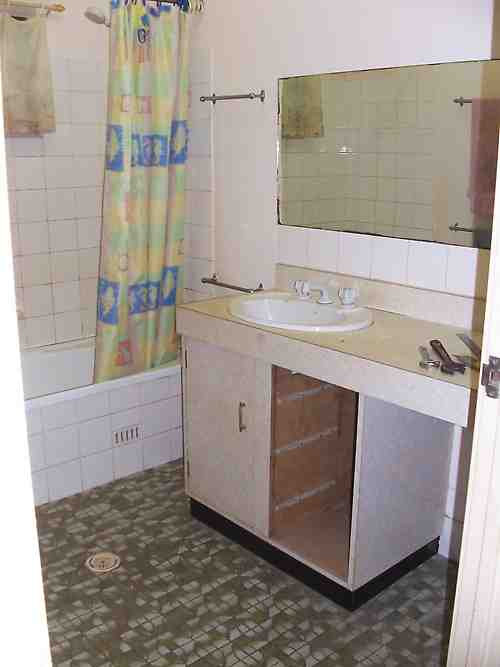
Here is a shot of the old place (the height of elegance in 1976 :-) just after I started working on it. The digital camera that I use is fairly modest and it usually does me well enough, but for indoor shots a wide angle would be great. So apologies for the less than adequate photos. The house is a ground level, about 30 years old and much in need of an internal refit. The walls and floor are concrete. The bathroom is quite small 1800 x 2000, so there was not really enough room to build a separate shower and a bath, so I went the path of least resistance and didn't change the layout at all. Because the bathroom layout was unchanged, it meant that I didn't need to involve a plumber. So I can say it is just a bathroom renovation and not a total remodeling. Removing The Old Bathroom Cabinet and Saving The Ceramic Hand BasinThe first job was to strip out the old bathroom cabinet, and to remove the hand basin without breaking it, and put it to one side for later.
Replace Water Fittings and Thread Tape
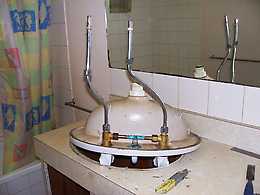
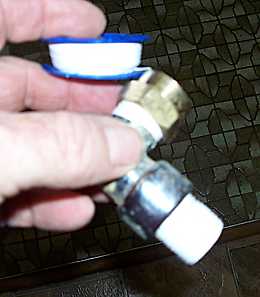
Once the cupboard was gone I put the plugs on the ends of the water pipes coming out of the wall using half a dozen turns of plumbers thread seal tape on each joint. Water fittings like this seal actually on the thread. The thread is tapered, and it is always sealed with thread tape, or ribbon dope as it is sometimes called. The bathroom fitting that takes the water to the basin, via a copper pipe (see the photo above) relies for it's seal on a plastic "olive" (sometimes soft copper) and does not need thread tape. When I put the basin back later, I replaced all the olives. The old bathroom mirror on the wall was to be thrown away, the mirror coating at the bottom edge had water damage. I still managed to get it off in one piece. ( It had been glued to the wall with "Liquid nails". I taped it all over with packaging tape so that in the event of a break shards wouldn't fly everywhere, and I wriggled an old 600 long steel rule behind it to break the glue and using gloves got it off OK. I once renovated a hairdressing salon that had many mirrors glued to plasterboard walls. I gave no guarantees that we would be able to remove them without damage, but by using a carpenters hand panel saw I got them all off unscathed. The actual mirror backing is incredibly hard, so the saw teeth suffered but it did the job. Note! Putting packaging tape over the mirror is a good safety feature, and taking it very slow and easy is another. Apart from safety there is the old superstition that says breaking a mirror is bad luck. Total BS really. I am not superstitious in the least. But I have to admit that when I took the old mirror to the dump I took a lot of care not to break it :-) Strange eh? Not found it yet? Try this FAST SITE SEARCH or the whole web |
Hire Equipment  Furniture Fittings - Architectural Hardware - Electronic Locking Systems - Technical Hardware BuilderBill sponsorship |
||||||||
|
|
|||||||||
|
Please Note! The information on this site is offered as a guide only! When we are talking about areas where building regulations or safety regulations could exist,the information here could be wrong for your area. It could be out of date! Regulations breed faster than rabbits! You must check your own local conditions. Copyright © Bill Bradley 2007-2012. All rights reserved. |
|||||||||


